How to Grow Sunflower Microgreens in 6 Easy Steps
Sunflower microgreens are packed with nutrients and unique flavor. Plus, they're easy to grow when you follow these steps. Gardening expert Rachel Garcia explains how to get it right.

Contents
If you love the nutty taste of sunflower seeds, you will adore sunflower microgreens. They keep all the flavor while adding a crunchy texture and an ample supply of nutrients. Plus, they’re super fast and easy to grow.
So, what sets sunflower microgreens apart from full sunflower plants?
They’re still the same species, but they’re harvested much sooner. When growing microgreens, we’re after the cotyledons, which are the first leaves to emerge from the seed. Sunflower seeds are excellent candidates here because they produce two round, plump cotyledons that are perfect for snacking.
Whether you’re growing sunflower microgreens in a small apartment or large backyard, you’re sure to enjoy the results. After only two short weeks, you can add these nutritious seedlings to your salads, sandwiches, soups, and even scrambled eggs.
What You’ll Need
These are the materials you need to grow. Then, simply clear a space and watch your garnish grow!
Seeds
You don’t need many seeds to start. One cup covers about 100 square inches. Here are some of our favorite sunflower seed options to try:
- Sunflower Microgreens Seeds: Specially chosen for growing microgreens, this seed has a nutty taste with a fresh, crunchy texture.
- Mammoth Sunflower: A heirloom variety from the 1880s.
- Zohar Sunflower Seeds: These are the ones that professional flower growers use.
- Rouge Royale Sunflower Seeds: A rich dark red color reflected in the microgreens.
- Vanilla Ice Sunflower Seeds: Creamy blooms if left to grow with a bittersweet flavor.
Containers
You will also need a few planting trays—one for growing and one for covering. Any seed trays or pots will do as long as they have adequate drainage holes.
For sunflower microgreens, use a shallow container so you can easily harvest the seedlings. Punch a few drainage holes in if the container doesn’t already have them.
If you need to buy seed trays, try Epic 6-Cell Seed Starting Trays and Germination Domes & Bottom Trays. They protect the seeds as they grow and create little ecosystems that improve germination.
Growing Medium
A light and fine growing medium is ideal for growing sunflower microgreens. Otherwise, the baby roots may have a hard time taking hold and growing evenly.
Seed-starting soil is specially formulated for this task. Alternatively, you can use rehydrated coconut coir, which has excellent drainage and moisture-holding capacity.
Grow Lights
Microgreens grow best with good, consistent light. You can use any grow light to create artificial sunlight in your indoor garden, or place the tray near a sunny windowsill and rotate it every few days to get even sunlight.
If you are looking for grow lights to make the process easier, try Epic Seed Starting Grow Lights Small or the Epic Seed Starting Grow Lights Standard.
Extras
You will also need a sharp pair of kitchen scissors to harvest and a misting bottle to keep the seeds watered. A misting bottle prevents the seeds from being washed into a corner. Don’t worry about fertilizer as the sunflower sprouts get everything they need to grow from the seed.
How to Grow Sunflower Microgreens
Growing microgreens is incredibly easy, and sunflower microgreens are no exception.
Step 1: Soak
The first step is to soak the seeds. This softens the hard outer shell and helps the sunflower seeds germinate quickly.
Because they have such a tough hull, soak these seeds for 24 hours. A minimum of four hours will do in a pinch, but the longer they soak, the better they’ll sprout.
Dump your sunflower microgreen seeds in a bowl of room-temperature water (too much heat will sterilize them). After 12 hours, empty the bowl, rinse the seeds, and refill it. After another 12 hours, take them out and move on to planting.
Step 2: Plant
Before you plant, pour some water in the bottom of the growing tray and layer the soil on top. The soil will absorb the water instead of letting it soak to the bottom, where it can grow fungus. Fill the soil line just below the top of the tray, compress it slightly, and make it smooth.
Growing microgreens throws out the rule book of traditional planting. Crowd the seeds on top of the soil so every inch of space is covered. Avoid overlapping seeds, though, as this will interfere with their growth. There’s no need to cover them with soil – the plants will be harvested before they get too top-heavy.
Step 3: Cover
Mist the sunflower seeds to aid germination and keep them in place. Then, put a second tray on top of the seeds to keep things dark. The seeds are used to germinating underground, so they’ll love the cover.
Keep the lid on while the microgreen sunflower seeds are sprouting, and continue to mist them twice per day. Within a few days, the seeds will sprout into baby sunflower microgreens. They’ll most likely be discolored from lack of light, which is your cue to remove the cover.
Step 4: Care
Mimic the sun with your grow light by turning it on for 12-18 hours daily. The closer the light is to the tray, the better. We want to grow sunflower microgreens that are short and compact, not lanky and etiolated.
When the soil begins to dry out, water them from the bottom by placing the tray inside a larger tray of water. This method ensures that the sunflower microgreens stay dry, preventing any fungus growth.
Sunflower seeds are particularly prone to diseases like damping off, so keep an eye out for that. If you notice any white growth on the seedlings, treat them with grapefruit seed extract or discard them and start again.
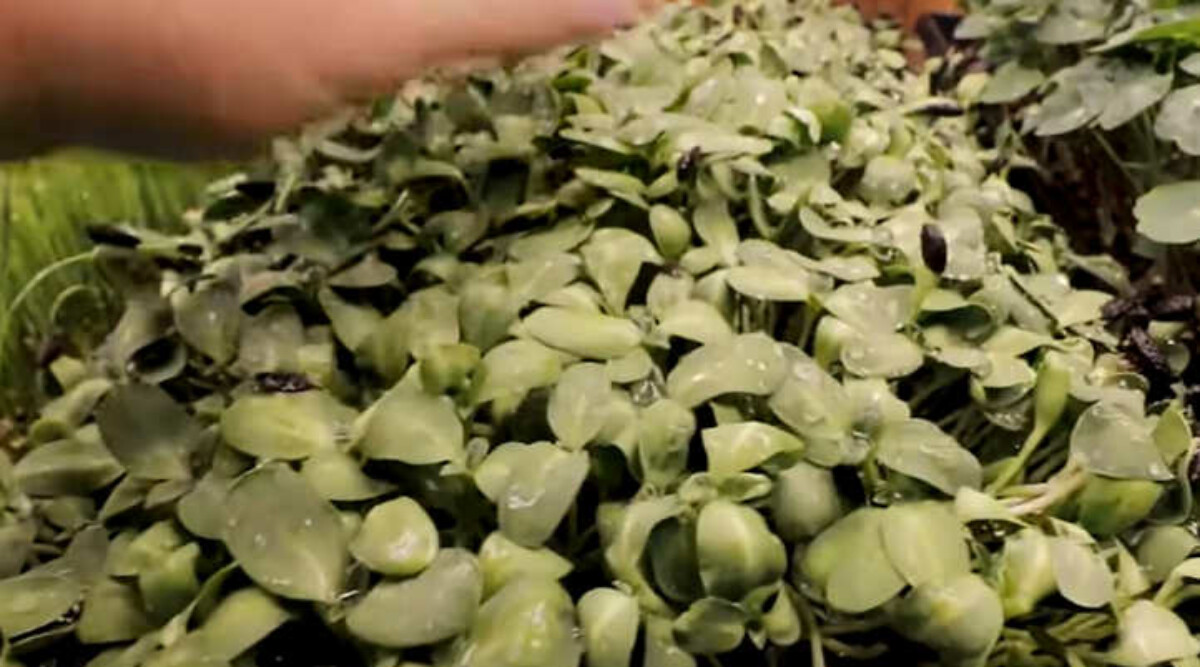
Sunflower cotyledons will pop up with the seed hulls still on the leaves. You can remove them all at once by brushing your hand over the bunch.
Step 5: Harvest
Before you know it, the two weeks (or less) will be up, and you’ll be ready to harvest!
The sunflower microgreens should be three to four inches long with two cotyledons each. Harvest the seedlings before their true leaves start to grow. Otherwise, the flavor may turn bitter.
To harvest, grab some sharp, clean scissors and a bowl. Hold a section of the sprout tops in one hand and clip just above the soil with the others. Move the microgreens to the bowl and continue with the rest of the tray.
Sunflower greens won’t regrow once cut, but you can always plant more. Just be sure to remove the beheaded roots from the soil first. If the soil has been used a few times already, toss it in the compost bin.
Step 6: Store
We don’t recommend you wash your microgreens until you’re about to use them, but whether or not you wash your harvest at all is up to you. Feel free to skip the sink if you know what you put on them and didn’t pull up dirt when you harvested. Otherwise, a salad spinner gets the job done well.
Keep the microgreens in a sealed container in the fridge. They should last about a week but are best used as soon as possible. You can toss them into pretty much any dish for a nutritional boost and a nutty flavor.
Final Thoughts
Sunflower sprouts have plenty of vitamins and minerals, including calcium, iron, and vitamins A and C. What more could you need from a sunflower?


