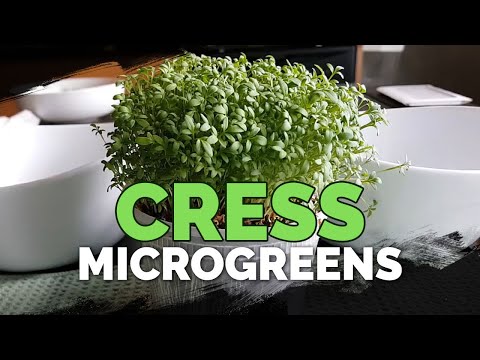
How to Grow Cress Microgreens in 5 Easy Steps
Cress microgreens are popular for their peppery flavor that packs a punch. These greens are easy to grow and great for beginners. Join Kevin Espiritu on this journey to grow cress microgreens in just 5 steps.


Contents
Peppery taste and unique leaf structure make cress a chef favorite, used in soups, salads, and garnishes. For the home cook, cress is great for juicing smoothies or adding some extra spice to a salad mix.
This bold flavor will germinate in three to four days and be ready for salad in just eight to twelve days. Follow the step-by-step guide below to find out how.
What You’ll Need
To grow cress microgreens, you don’t need much, and you probably already have many of the basic materials.
Seeds
If you’re using a standard plant propagation tray, around one ounce of seed is enough. These are some excellent seeds to try:
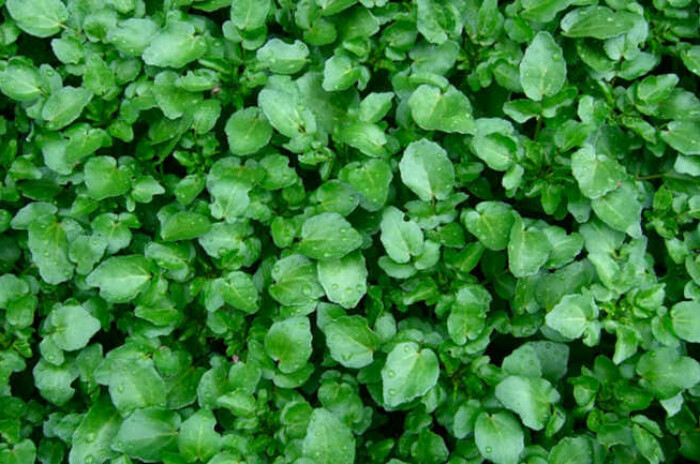
- Upland Cress Microgreen Seeds: Also known as creasy greens, this is the land-loving version of watercress and also known as wintercress. It is known for its perfect balance of spicy flavor and delectable creaminess and is packed with vitamins A and C. Sow indoors at any time of the year.
- Watercress Seeds: Peppery and pungent in flavor and packed with vitamins A, C, and K, potassium, and calcium.
- Jazzy Mix Microgreen Seeds: This blend has 30% Peppergrass cress, 30% Sawtooth mustard, 15% Red Acre cabbage, 15% Red Giant mustard, and 10% China Rose radish, which adds a colorful, peppery bite to a variety of snacks, soups, and salads.
Containers
Any shallow containers with drainage holes are ideal. Alternatively, use two standard planting trays (one for growing and one for covering).
If you don’t have the right containers or trays, try Epic 6-Cell Seed Starting Trays and Germination Domes & Bottom Trays. These are perfect for protecting the seeds as they grow by creating ecosystems to keep them hydrated and warm.
Growing Medium
A seed-starting mix is ideal for its fine texture. Alternatively, use a combination of potting soil and rehydrated coco coir, which has excellent moisture-holding capacity and good drainage in a 50/50 ratio.
Grow Lights
For indoor planting, grow lights work best for consistent lighting. For beginners, we recommend Epic Seed Starting Grow Lights Small or the Epic Seed Starting Grow Lights Standard.
The trays can also be placed on a sunny windowsill and rotated every few days to ensure the germinating seed doesn’t lean toward the light.
Extras
Use a sharp pair of kitchen scissors to harvest and a misting bottle to keep the seeds well-watered. Try an old seasoning shaker, which I use to get an even distribution of seeds. You can also use your fingers or a glass to plant.
How to Grow Cress Microgreens
These simple steps will get you the best results. Follow along for some flavor in your food.
Step 1: Plant
Fill the tray with your growing medium and press down gently, ensuring the soil layer is smooth. Sprinkle the seeds evenly and densely over the top.
Unlike many greens, cress seeds are mucilaginous. This means they’ll take in water and form a mucus membrane around their hulls, so they don’t need as much water when germinating as other seeds.
Spray them lightly, and make sure your soil mixture isn’t too moist. You’ll have low germination rates if you use too much water.
Step 2: Cover
After distributing seeds evenly, cover them with a blackout dome. I use another tray placed over the top of the existing tray to block out light.
Mist them more often in the next few days, but with less mist per application. The soil should never be soggy.
Step 3: Care
After three to four days, your cress seeds will sprout. Now they are ready for some light. Make sure you continue to water but do not overwater your cress. You’ll get mold and potentially drown out the fragile root systems, leading to either rot or a poor yield.
If possible, water from the corners of your containers instead of overhead. This protects your microgreens from damage. Also, the center of your container typically retains water better and needs less water than the sides.
If you’re growing cress to the microgreen stage, it’ll take about eight days. If you’re growing to the true leaf stage, it’ll take around two weeks. It’s up to you—there’s a visual, yield, and flavor difference, so try both and see which you prefer!
Step 4: Harvest
When harvesting, make sure to use exceptionally sharp scissors. You want a clean cut with no ripping or pulling so that you won’t pull up any soil or seed husks. The simple rule to follow when harvesting is to harvest in a way that avoids the need to wash your greens.
Washing microgreens cuts their shelf life by about 50%. You will need to wash in special circumstances, but my default is to avoid it when possible. I do this by growing cleanly and safely and minimizing debris with my harvesting technique.
You’ll want to harvest cress around the eight to twelve-day mark. Ensure your greens are as dry as possible when harvesting—ideally bone dry—as any moisture on them when storing is conducive to mold and rot. Lay them on a drying rack or towel until dry if they’re moist.
Step 5: Store
Store them in a sealed glass or plastic container, or use a produce storage bag. Then, place them in the refrigerator. They should last for about a week or so, but the sooner you use them, the better!
Final Thoughts
Microgreens are one of the easiest ways to grow any food, with plenty of nutrition in so little time. Plus, they’re delicious too and a great ingredient for avid home cooks.